How to Clean Used Golf Clubs Without Damage
A used club can have years of good shots left in it, even when it arrives with dried grass in the grooves, a dull finish, and a grip that feels less than fresh. Knowing how to clean used golf clubs the right way helps you see what you bought, protect the parts that matter, and get the club ready for the course without spending much money.
Cleaning is also a chance to inspect your equipment with care. A little dirt is normal. Rust, loose ferrules, cracked grips, rattling heads, or worn grooves may call for more than soap and water. Start gently, take your time, and do not let a cosmetic cleanup hide a problem that could affect your swing.
Gather Simple, Safe Cleaning Supplies
You do not need specialty chemicals or an expensive cleaning kit. Most golfers can clean a full set with supplies already at home. Set aside a towel to work on and use a bucket or sink where you can keep the clubheads controlled.
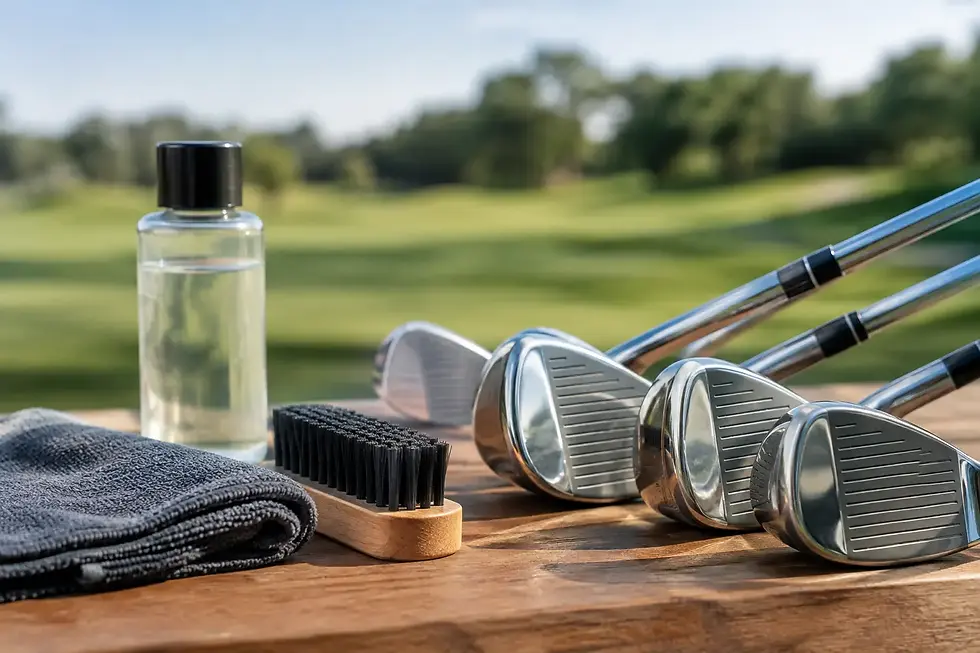
For a safe, basic cleanup, gather these items:
A bucket of warm water
Mild dish soap
A soft-bristle brush or old toothbrush
Clean microfiber towels or soft cotton rags
A wooden tee or plastic groove-cleaning pick
Avoid very hot water, harsh degreasers, steel wool, wire brushes, and abrasive powders. They can scratch chrome, wear down painted details, damage protective finishes, or dry out grips. The goal is not to make every club look brand new. It is to remove grime while respecting the club’s age and condition.
How to Clean Used Golf Clubs Step by Step
Begin by separating clubs with metal heads from putters, wedges with visible rust, and clubs with leather or worn grips. Most irons, wedges, and metal woods can be cleaned with the same gentle process, but some finishes need a lighter touch.
Soak the Heads, Not the Whole Club
Fill a bucket with warm water and add a small amount of mild dish soap. Place irons and wedges in the water with only the clubheads submerged. Keep the ferrule and shaft out of the water when possible, especially if the club is older or the ferrule already looks loose.
Let the heads soak for five to 10 minutes. This softens packed dirt in the grooves and around the sole. Do not leave them underwater for an hour while you handle other chores. Extended soaking can work moisture into small gaps near the hosel or ferrule, and it is unnecessary for normal buildup.
For metal woods, hybrids, and drivers, skip soaking altogether. Their heads may have seams, painted surfaces, lightweight crowns, or adjustable components that do not need a bath. Instead, wipe them with a damp, soapy cloth and keep water away from the hosel and any adjustment ports.
Clean the Grooves Carefully
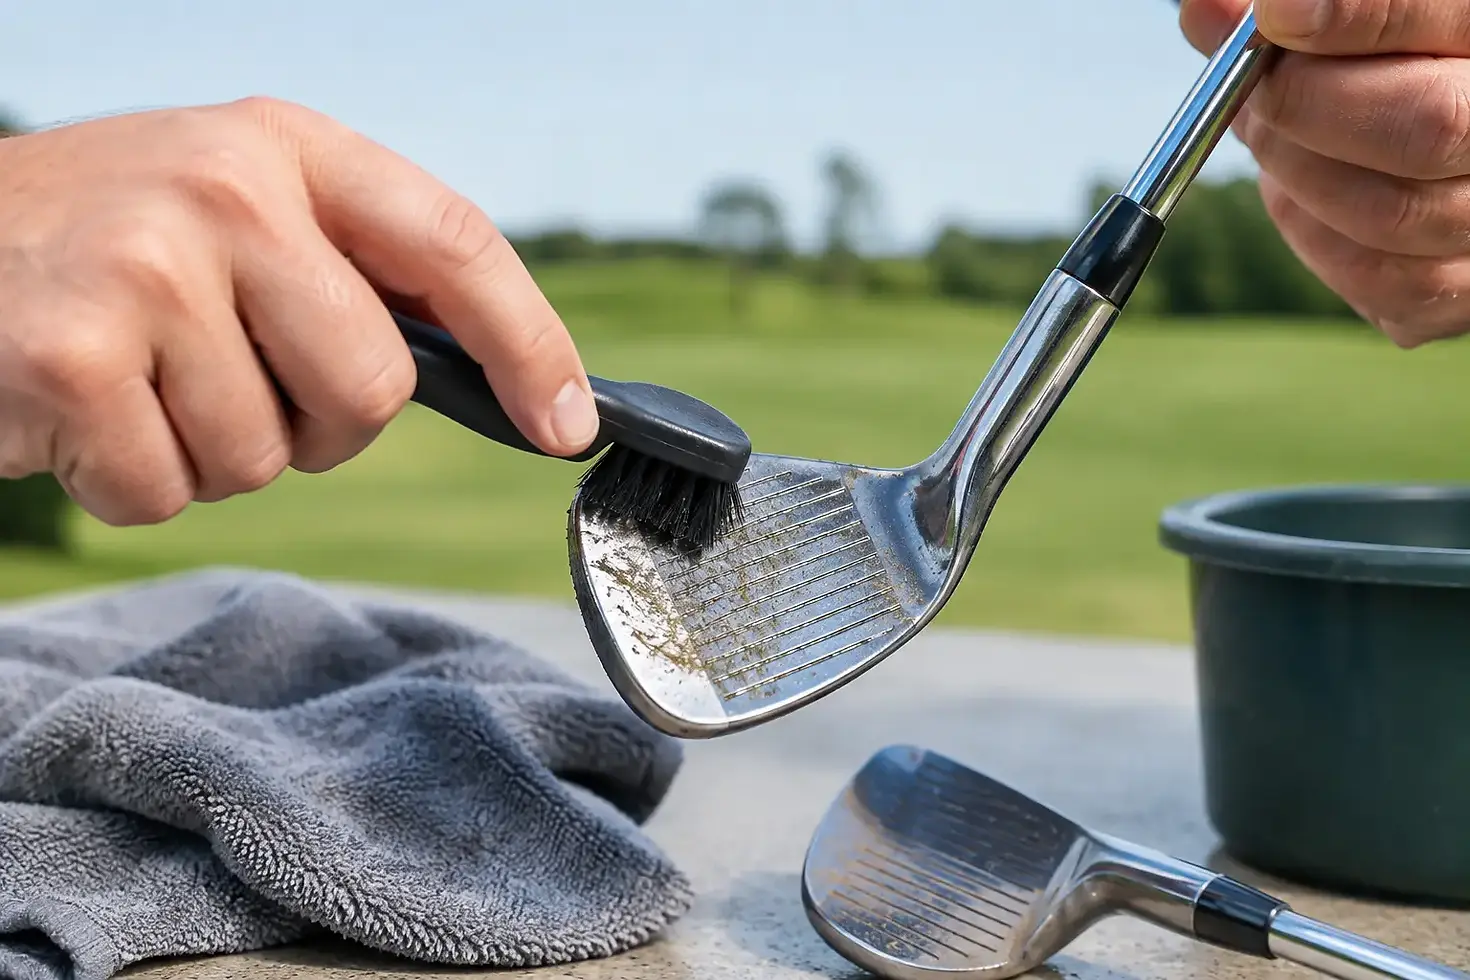
After soaking, use a soft brush to scrub the face, sole, and back of each iron or wedge. Give extra attention to the grooves. Clean grooves matter because they help the club create predictable contact and spin, especially on shorter shots.
Use a wooden tee or plastic pick to lift stubborn dirt from each groove. Work along the groove rather than digging across it. A metal tool can scratch the face or alter the edge of a groove if used aggressively. If dirt remains after a gentle pass, soak the head for a few more minutes and try again instead of forcing it.
Wedges deserve patience. Their faces often hold the most dirt, and older wedges may show browning or rust. Surface rust is not always a reason to panic. Some players even like the look of a raw wedge. But flaking metal, deep pitting, or grooves that are visibly rounded down are signs the club may need an honest evaluation before it earns a regular place in your bag.
Wipe, Rinse, and Dry Every Club
Rinse cleaned clubheads under a light stream of water or wipe them with a clean damp cloth. Make sure no soap remains in the grooves. Then dry the head, ferrule, shaft, and grip thoroughly with a towel.
Do not put wet clubs back in the bag. Trapped moisture can encourage corrosion, stain shafts, and leave your bag smelling musty. Stand the clubs out to air-dry for a few extra minutes before storing them, particularly if water got near the shaft label, ferrule, or grip cap.
Give Shafts and Grips Their Own Attention
A clean clubhead will not help much if the grip is slick or the shaft is hiding damage. Wipe steel shafts with a damp cloth, then dry them completely. For graphite shafts, use only a soft cloth with mild soapy water if needed. Scrubbing graphite with rough materials can harm the finish and may make small scratches harder to spot.
Check steel shafts for rust spots, especially near the clubhead and under the grip area. Light discoloration may clean up with a gentle wipe, but rust that is raised, deep, or spreading deserves professional attention. A shaft failure during a swing is not worth the risk.
For rubber grips, wipe with warm water, mild soap, and a soft cloth. You can use a soft brush lightly on the textured areas. Rinse with a clean damp cloth and dry well. This often restores enough tackiness for a grip that only has surface dirt.
There is a trade-off, though. Cleaning can improve a dirty grip, but it cannot restore rubber that has become hard, shiny, cracked, or slick from age. If your hands have to squeeze the club tighter to keep it from turning, new grips are usually money well spent. Proper grip size also matters, so do not assume the same replacement works for every golfer.
Be Careful With Specialty Finishes and Vintage Clubs
Used clubs come in all conditions. A modern cavity-back iron with chrome plating can usually handle a gentle cleaning without trouble. A vintage putter with patina, a black-coated wedge, a painted driver, or a club with custom paint fill needs more restraint.
If a club has black, copper, satin, raw, or painted areas, test your cleaning method on a small, less visible spot first. Do not use polish on a painted driver crown or a coated wedge unless you know the finish can handle it. Polishing may brighten some chrome, but it can also remove character from older clubs and create an uneven appearance.
For collectible or sentimental clubs, preserve before you polish. There is nothing wrong with a well-used club that tells a story. Clean away dirt and moisture, but do not chase a showroom shine if doing so could remove the finish that gives the club its value.
Inspect What Cleaning Reveals
Once the dirt is gone, look over each club in good light. Check the face for unusually smooth grooves, dents, cracks, or severe wear. Examine the connection between the shaft and head for gaps, movement, or dried-out epoxy. Give the club a gentle shake and listen for a rattle inside the head.
A loose head, cracked shaft, or persistent rattle should be addressed before you play. Cosmetic wear is one thing. Structural trouble is another. Used equipment can be a wise way to save money, but stewardship means making sure the clubs are safe and dependable before putting them in play.
If you are unsure whether a club needs a new grip, shaft work, a length adjustment, or just a little cleanup, ask a qualified club repair professional. At PaPa’s Pro Shop, we believe each customer should be treated like family, which means giving straightforward advice instead of pushing work a club does not need.
Keep Your Clean Clubs That Way
The easiest deep cleaning is the one you rarely have to do. Carry a small towel on the course, wipe the face after shots, and clean dirt from the grooves before it hardens. Empty wet headcovers and let your bag dry after a rainy round. A quick wipe after every round protects the value and playability of a used set.
A clean club will not fix a poor swing, but it gives you an honest chance to see what the club can do. Take care of the equipment you have, play with gratitude, and let the next round be about enjoying the game rather than fighting dirt you could have removed at home.


Comments